Building Your QRamp

Ramp Builder is a fantastic tool that allows you to virtually build your ramp, module by module, to create to your own custom configuration.

We want to make it as easy to use as possible so below we have some details on the program and how to start building your ramp.

If you have any questions please don’t hesitate to call us at 855-697-7267!

BUILDING YOUR RAMP

Ramp Builder will first ask for two things:

  • The RISE IN INCHES – to do this measure from the ground to the threshold of the doorway
  • The TARGET SLOPE – default is 1:12 as per ADA guidelines for a gentle incline

One of the key features of QRamp is we offer 11 modules that can be arranged in any way – which provide endless configurations to meet your needs now (or even again in the future!)

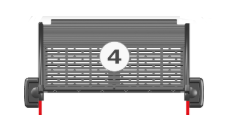
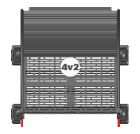
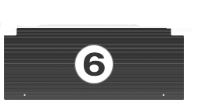
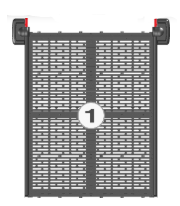
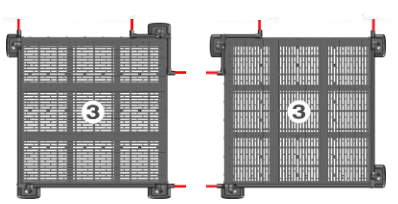
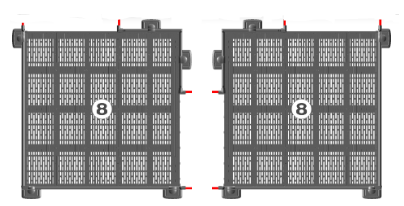
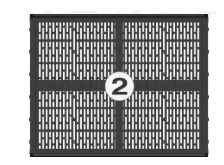
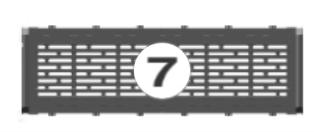
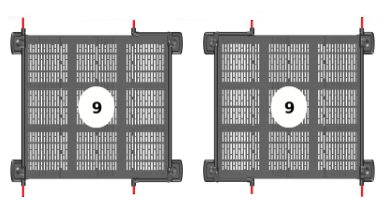
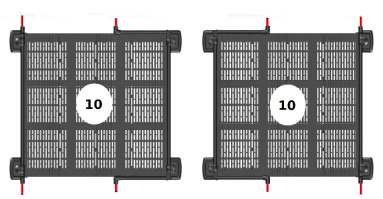
Each of the modules are numbered in Ramp Builder and that is how we refer to them to keep it simple. Here is a breakdown of each module and what it’s purpose is, along with its size. You will notice on the modules there are red tabs – these are where the next module will connect.

ENTRY & EXIT
Mod 4  2′ x 3′ entry/exit section
Mod 4V2  3.5′ x 3′ extended entry/exit section
Mod 6  11.25″ x 3′ transition plate


SLOPING SECTIONS
Mod 1  4′ x 3′ sloping section with legs
Mod 7B 1′ x 3′ sloping section with legs

TURN PLATFORMS
Mod 8  5′ x 5′ 90 degree turn platform
Mod 3  4′ x 4′ 90 degree turn platform


BRIDGES
Mod 2  4′ x 3′ sloping section without legs
Mod 7  1′ x 3′ sloping section without legs

RESTING PLATFORMS
Mod 9  4′ x 4′ straight resting platform
Mod 10  5′ x 5′ straight resting platform

The above drawings are only approximates and do not reflect accurate sizing. Please visit our Product Download section for more product information.

Start building your ramp from the doorway – most ramps will start with a Mod 6 which is a transition plate. This is used to breach the gap between the ramp and the doorway. You are now ready to start building the rest of your ramp!

Consider the shape of the ramp with where it needs to fit. This can include things like a driveway, garden, property shape – all the things that make your home unique!


TIPS & TRICKS

  • A Module 2 or 7 can be used to bridge a gap between two platforms or between a platform and a sloping section
  • The difference between a 7 and 7B – the 7B includes a leg kit
  • Module 6 cannot be used at the ground level of a ramp. A Module 4 is the only option and it comes with it’s own transition plate for a safe, bump-free exit
  • Calculating Slope and Module Requirements
    • 1:9 slope – for every 9″ of run you can rise or drop 1″
    • 1:12 slope – for every 12″ of run you can rise or drop 1″
    • 1:15 slope – for every 15″ of run you can rise or drop 1″
      For example: a Module 1 is 48″ long (4ft) so you are able to rise or drop a total of 4″ using one piece

Please note: The Measure Tool is only an approximate.

GETTING A QUOTE

Once you have completed your drawing, save it as a PDF and there are three options:

We will follow-up within 24 hours of receiving your quote. That is our promise to you!